Be yourself; Everyone else is already taken.
— Oscar Wilde.
This is the first post on my new blog. I’m just getting this new blog going, so stay tuned for more. Subscribe below to get notified when I post new updates.
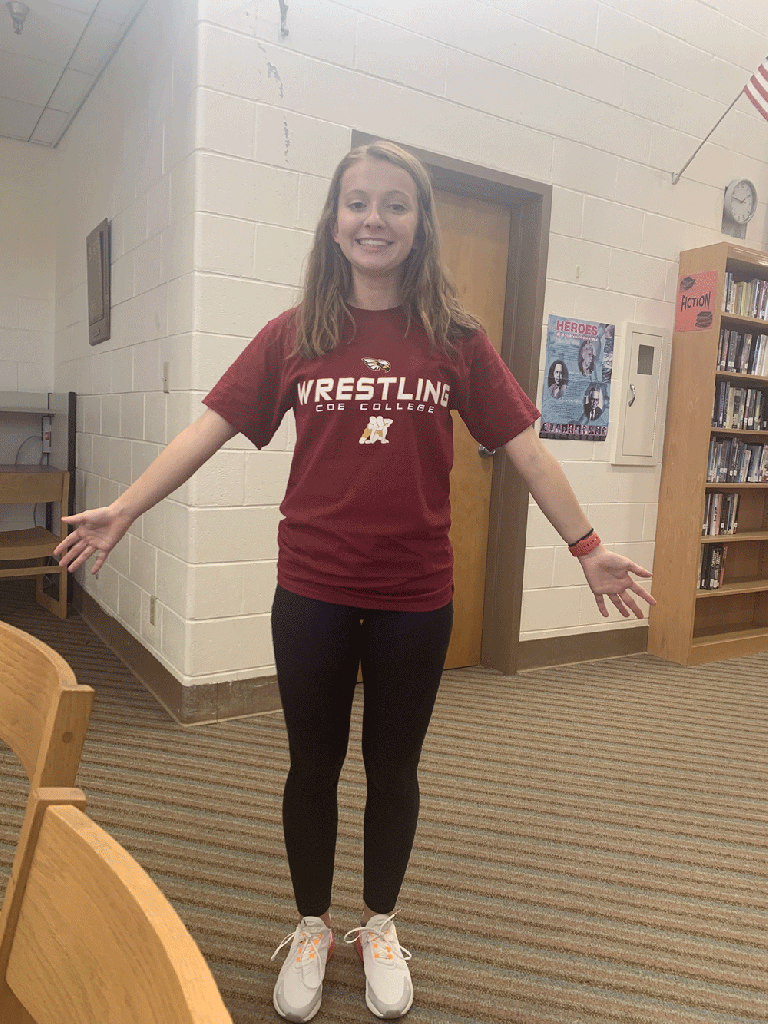
Katie's Multimedia Class
Be yourself; Everyone else is already taken.
— Oscar Wilde.
This is the first post on my new blog. I’m just getting this new blog going, so stay tuned for more. Subscribe below to get notified when I post new updates.
When I first started this course, I truly had no idea that Multimedia had so much to offer. When I would make Powerpoints before this course, I thought I knew what I was doing…I did not. I now know how to effectively make WordArt, determine my audience, and make good word choices, which is something I would have never thought of before. In addition to this, I had no clue how to work Photoshop. I never thought that in a million years I would be able to use this or Audacity. Before this class, I would rate my knowledge on the lower end of the spectrum, due to lack of exposure from my school’s curriculum. My final project shows me that I have learned so much! At first, I was a little worried about this project, but when I started it, I realized that I already knew exactly what I was doing. After I picked my topic (The Opioid Crisis), I had very few issues after that. I would have never made it this far without the amazing feedback I have gotten from you! This course has shown me that there is always something new to learn!
I think that the overall objective of this course was to become more comfortable and confident in applying multimedia elements to my everyday projects. One of the major components of this class was to fully understand how to make ordinary projects stand out (using word choice, knowing how to communicate effectively, etc). Another component of this class was to realize how multimedia is in everyday life, such as the Alphabet Project. There were many other things that I have learned in this class, these are just a few examples. When I signed up for this class, I thought it would be just making a few Powerpoints here and there, but in reality it taught me how to be a true presenter. I now understand that this class requires high level skills to make successful projects.
Throughout this course, I had a few struggles. For example, I had a hard time with downloading music and videos, but I finally conquered it by finding an alternative solution. I also had trouble with learning how to navigate Premier, but eventually I was able to overcome this with a little practice, which gave me so much relief! In conclusion, I am very happy with my new multimedia skills, and I will definitely use them in the future!
This is the link to my final project!
This is the link to my asset folder in my Box account. Both samples are in the folders.
When I first started this assignment, I thought that taking the videos would be quick and easy. In reality, it was a little more time consuming than I had expected. My actual video was almost exactly the way I had planned for it to be in my storyboard, but I had to retake a few videos to make sure that I had the right angles that would create the most suspense. I had some low angles, head-on angles, and some high angles. I originally had problems with inserting my videos. They were inserting as audio, not as a video. With some help, I was able to fix the file types and reinsert them as videos. To create more suspense, I inserted the song “Smooth Criminal” by Michael Jackson.
I had my brother, Avery, view and critique my films. Avery said, “Apart from the cringe-worthy acting, I could feel suspense throughout the video with the way the camera was angled. I was also able to feel relief at the end of the video when she came through the door. The music really helped set the tone of the video, it had a fast beat to it and made my heart race.”
In this assignment, I focused on editing, enhancing, and adding sounds to a recording. I chose a recording about a murder; I chose it from this website. Before I started this project, I had trouble downloading the actual recording from the Old Time Radio Show, but I eventually figured it out (with some help, haha). First, you go to the show you want to pick from and find an episode to your liking. Then, you scroll down and find “Download Options”, pick “MP3”, find the episode, and then press download! I chose my sounds from this box folder created by Mrs. Johnson. When I first made my storyboard I thought that I wouldn’t have to make any changes to it, but I ended up making one alteration. I had previously inserted my “gasp” sound earlier in the recording, but the length did not work out. I ended up moving it to the end, and it actually sounded better that way! I also added the “gunshots” sound to emphasize the man saying, “I didn’t kill him”. The “gunshots” sound was originally longer, but I used the “cut” tool to make it the length that I thought worked best. I then added the “scarynote” sound to create suspense when the woman is accusing the man of murder. I think that these sounds compliment the audio recording, and I hope others will find it enjoyable!
Follow this link to my Box Account Asset Folder, and you will find the sounds that I used and my finished product!!! : )
This assignment overall was very fun and not too difficult. However, I did find it hard to keep my images in the same frame for every picture, considering I do not own a tripod. I was satisfied with the outcome, and I enjoyed this assignment! I plan on using this for future projects and assignments! This is the link to my StopMotion Video!

Before I started this assignment, I thought that it was going to be really hard. I saw the 100 slides, and I was immediately stressed. Once I started working, I realized it wasn’t as hard as I had thought! I enjoyed making my soccer players challenge each other for the ball. It was a very fun, but tedious project. I enjoyed learning how to use this new software!
Prior to learning about animation, I honestly thought that it wouldn’t be too hard to make a single animation. I was wrong; there were some times when I wanted to give up, but I finally pushed through and did it. I have a lot of respect for those who animate for Pixar, Hanna Barbera, Cartoon Network, and other companies because of their hard work and patience. I know it takes a lot of passion to do this, because these people have to center their attention to projects for long periods of time. I see animation as a way for me to make my presentations for school more interesting; I also would like to use animation for my own amusement!
At first I thought this assignment looked very easy, but I had a little trouble along the way. My images were too large, so I had to cut them down in size to make the GIF save in PhotoShop. Overall, I am pleased with my results, and I am very glad I learned how to do this! I will now be able to use this in future presentations and for fun!
This is my GIF!
In this assignment, I worked with Avery Hackney.
This is the link to our presentation.
In this PowerPoint, we chose to highlight that one person can save lives by being an organ donor. The intended audience for this infographic would be those who are not enrolled in organ donation. The audience of this infographic should feel sympathy for those who need the organs; it should also make them WANT to help. We chose to do two human bodies filled with a red color to represent blood, and the arrows between the bodies represent life being gifted to another human being. I believe this infographic would efficiently raise awareness for organ donation.
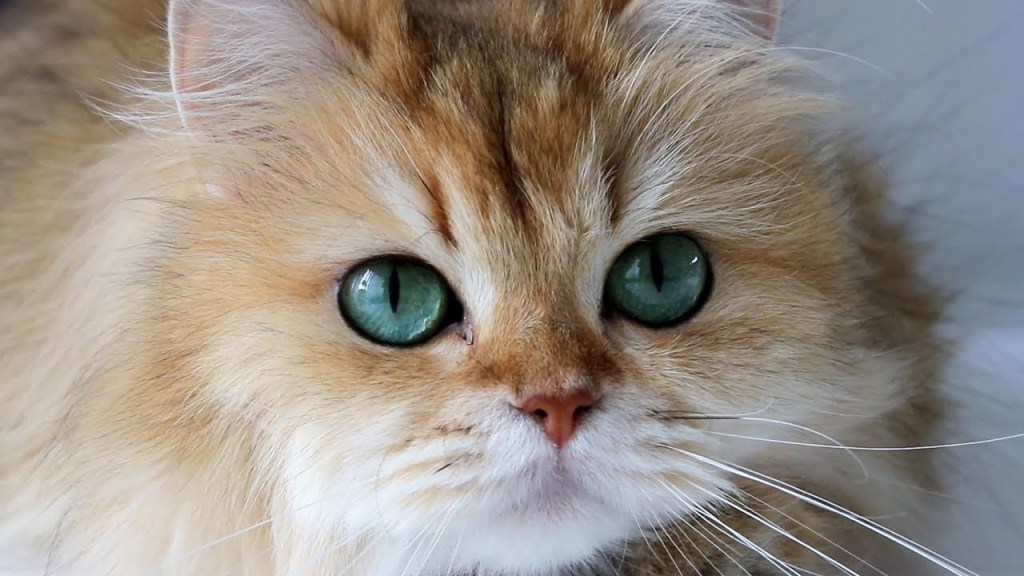


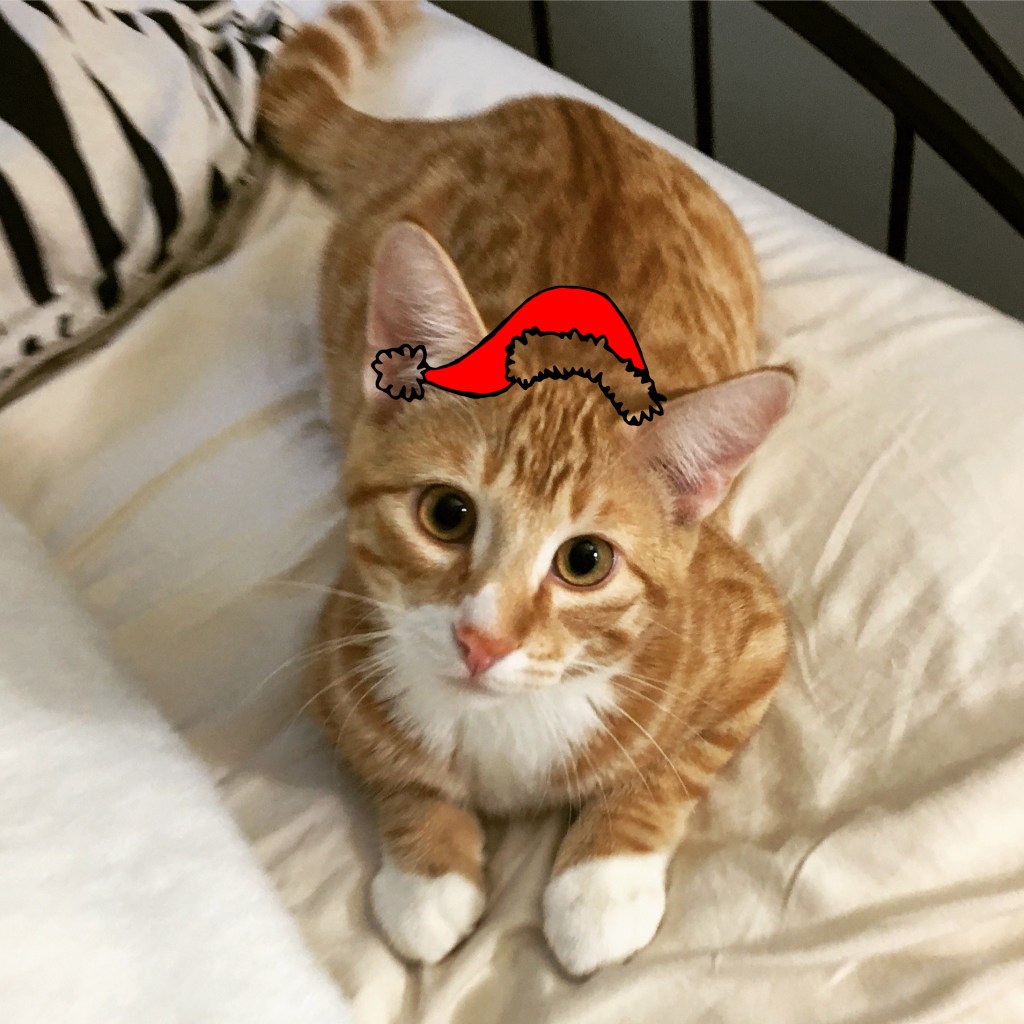


In this module, I worked with Photoshop A LOT. Although it could be confusing at first, I was able to get the hang of it after a couple of tries. I especially liked the part where you could remove an object. I wish I knew how to do this sooner, because it can make an image look so much better. I also liked using the place tool, I used it on my favorite image; the cat with the Santa hat! I really enjoyed these assignments this week!

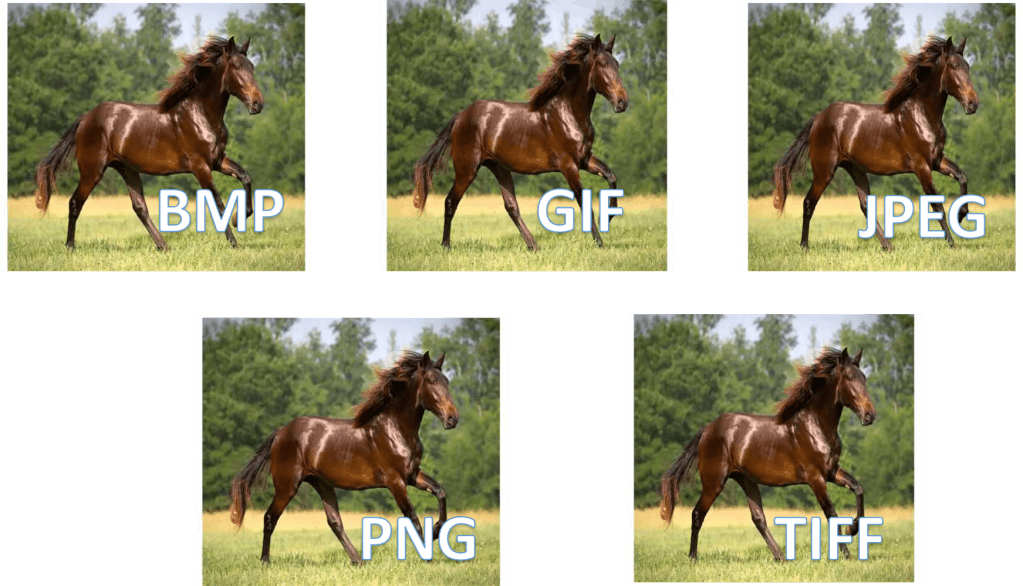
In this practice assignment, I did not notice major differences between the file types. I will be saving my images for this module in tiff format. Although there were not major differences, I did notice that the tiff format showed a little more detail than the other formats.
